 Save
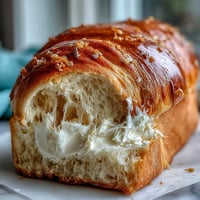
Save There's something almost magical about waking up to the smell of orange-infused rolls baking in your oven, especially when you've done all the hard work the night before. My neighbor brought me a batch of these one Sunday morning last spring, still warm from her kitchen, and I immediately understood why she'd been raving about them for weeks. The citrus brightness cuts through that rich butter and soft dough in a way that feels both indulgent and refreshing, like breakfast decided to become fancy without any fuss. After she shared her recipe, I've made them dozens of times for everything from quiet family mornings to impromptu brunches with friends who suddenly show up hungry. Now they're the rolls I reach for whenever I want to feel like I've got my life together, even if I only mixed the dough while half-asleep the night before.
I once brought a batch of these to a book club that was supposed to be casual, and somehow they became the entire conversation for the first twenty minutes. Someone's kid literally sat at the kitchen table eating them straight from the baking dish while everyone else was pretending not to do the same thing. That's when I realized these rolls had crossed from being a nice breakfast into the category of food that makes people genuinely happy, the kind you remember eating rather than just consuming.
Ingredients
- All-purpose flour (3 1/2 cups): This is your structure, the thing that turns liquid ingredients into something you can actually hold, and I've learned that measuring by weight rather than volume keeps you from accidentally making brick-like rolls.
- Granulated sugar (1/4 cup for dough, 1/2 cup for filling): Sugar does more than sweeten here—it feeds the yeast and helps create that golden, tender crumb that makes these rolls special.
- Instant dry yeast (2 1/4 tsp): Make sure this hasn't been sitting in your pantry since last year or you'll be very confused why nothing rises.
- Salt (1/2 tsp): A small but essential player that keeps the yeast from going wild and actually strengthens your gluten structure.
- Whole milk, lukewarm (3/4 cup): Lukewarm is the key word here—too hot and you'll kill the yeast, too cold and it won't activate properly, so aim for around body temperature.
- Unsalted butter (1/4 cup melted for dough, 1/4 cup softened for filling): This is what gives these rolls their tender, almost cloud-like crumb and that buttery flavor you crave.
- Large eggs (2, room temperature): Room temperature eggs mix in smoothly and contribute to that rich, soft texture that makes these rolls feel more special than standard dinner rolls.
- Fresh orange zest (zest of 3 oranges total): This is where the magic happens—use a microplane grater to get the bright, fragrant outer layer and skip the bitter white pith underneath.
- Powdered sugar (1 cup for glaze): This creates the smooth, spreadable glaze that finishes the rolls with a touch of elegance.
- Fresh orange juice (2–3 tbsp): This brings the glaze to the right consistency and reinforces that citrus note throughout the whole roll.
Tired of Takeout? 🥡
Get 10 meals you can make faster than delivery arrives. Seriously.
One email. No spam. Unsubscribe anytime.
Instructions
- Build your foundation:
- Whisk together the flour, sugar, yeast, and salt in a large bowl—this dry mixture is where everything starts. Think of it as creating a safe bed for the yeast to wake up in.
- Combine the wet elements:
- In another bowl, warm milk, melted butter, eggs, and that precious orange zest should come together smoothly. The orange zest will smell almost aggressively good at this point, which is exactly how you know you're on the right track.
- Bring it all together:
- Pour the wet ingredients into the dry and mix until shaggy dough starts to form—don't worry if it looks rough and sticky at this stage. You're just getting everything acquainted.
- Knead with intention:
- Whether you're using your hands or a stand mixer, knead for 7–8 minutes until the dough becomes smooth and elastic, almost silky to the touch. You'll feel the transformation happening—this is where the magic of gluten development actually occurs.
- Let it grow:
- Place the dough in a greased bowl, cover it, and let it rise for 1–2 hours in a warm spot until it's visibly doubled in size. I usually place mine near a sunny window and watch it slowly puff up, which feels oddly satisfying.
- Shape your rolls:
- Once risen, punch down the dough and roll it out on a lightly floured surface into a 10x16-inch rectangle—this doesn't have to be perfectly exact. Spread softened butter over the whole thing, then sprinkle your sugar and orange zest filling evenly across the surface.
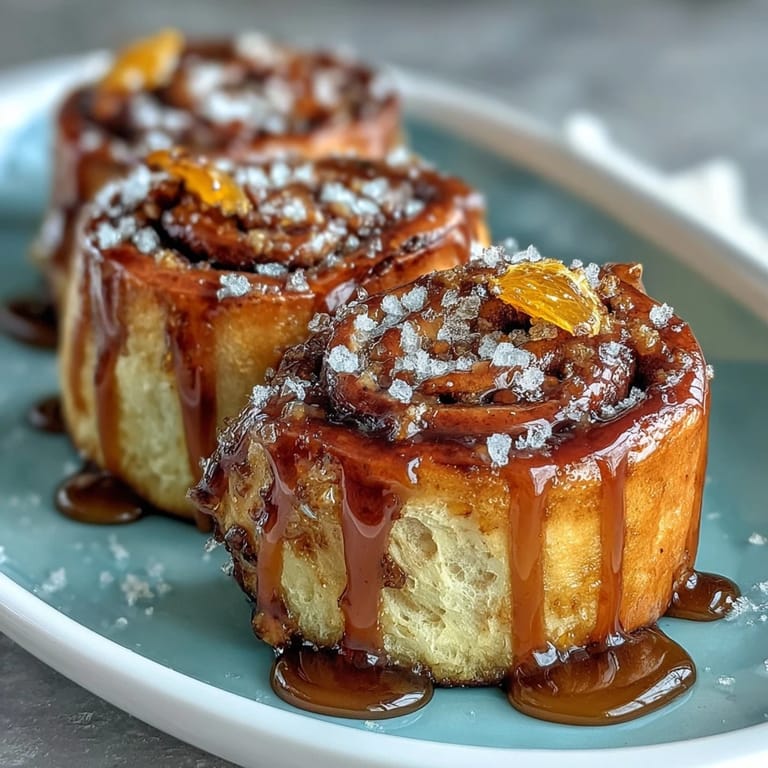
- Roll and slice:
- Roll the dough tightly from the longer edge and cut it into 12 even pieces—I use dental floss for this because a sharp knife can sometimes squish the dough instead of cutting clean. You'll want those rolls to look similar in size so they bake evenly.
- The overnight wait:
- Arrange your rolls in a greased 9x13-inch baking dish, cover tightly with plastic wrap, and refrigerate overnight. This step is pure kitchen genius because it lets the flavors develop while you sleep and gives you a completely stress-free morning.
- Bring them to room temperature:
- In the morning, pull the rolls out and let them sit uncovered at room temperature for 45–60 minutes until they look puffy and alive again. This is when your kitchen will start smelling incredible, like a bakery got into an argument with a citrus grove.
- Bake with confidence:
- Preheat your oven to 350°F, then bake the rolls for 22–25 minutes until they're golden brown on top. They should feel soft when you tap them, not hard or dense.
- Make the glaze:
- While the rolls bake, whisk together powdered sugar, fresh orange juice, and zest until you get a smooth, drizzle-able consistency. Add juice a little at a time until it reaches the right thickness.
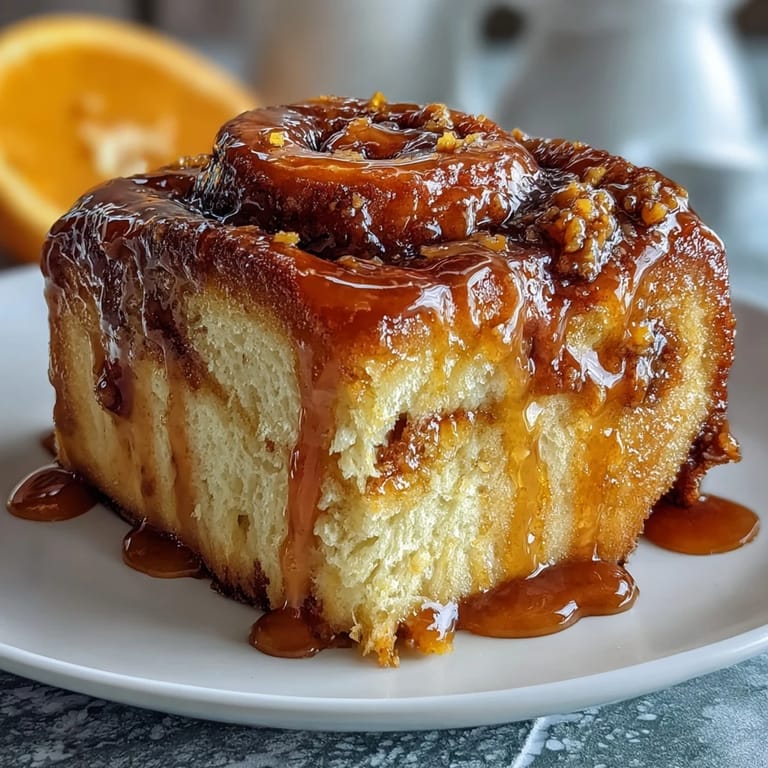
- The final touch:
- Drizzle that glaze generously over the warm rolls right out of the oven, letting it pool into the crevices and run down the sides. This is the moment when they go from great to absolutely unforgettable.
 Save
Save Last winter, I made these rolls for someone going through a rough time, and they told me later that biting into one made them cry in the best possible way—something about the warmth and care just hit different. Food can do that sometimes, transform from ingredients into something that actually communicates affection without needing any words at all.
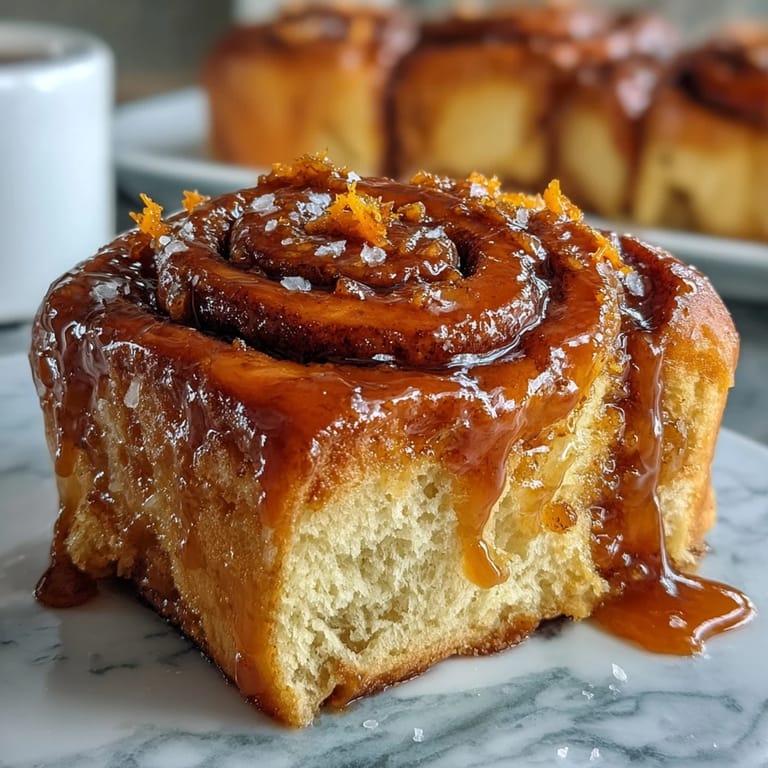
Why Orange Zest Changes Everything
The first time I made rolls without orange zest, thinking it was optional, I realized about halfway through baking that I'd made a significant mistake. Orange zest isn't just a flavoring—it's the personality of these rolls, the thing that separates them from every other breakfast roll you've ever eaten. The oils in the zest are incredibly fragrant and bright, which is why you want fresh oranges rather than the pre-zested stuff that's been sitting in a jar losing its charm.
The Overnight Rise Strategy
Here's what took me three batches to understand: the overnight refrigeration doesn't just give you convenience, it actually improves the rolls. Cold fermentation allows the yeast to work slowly and steadily, developing deeper flavor while the dough becomes more extensible and easier to shape. When you let dough rise on the counter, everything happens faster and more intensely, which can sometimes result in rolls that are less tender or less flavorful. I now see the overnight rest as less of a shortcut and more of an upgrade—it's actually the better way to make these rolls.
Customization Ideas Worth Trying
Once you've made these rolls once, you'll start seeing variations everywhere—some people add cardamom to the filling for a warm spice note, others substitute half the milk with fresh orange juice for extra moisture and flavor intensity. The base recipe is forgiving enough that you can experiment without worrying about ruining the whole batch.
- Add a tiny pinch of cardamom to the filling if you want something more complex and slightly spiced without it being obvious what the flavor is.
- For extra richness, swap half the milk for fresh orange juice and watch how it deepens everything about the rolls.
- These pair beautifully with Earl Grey tea or strong coffee, and serve them while they're still warm for the absolute best experience.
 Save
Save These rolls have become my answer to the question of what to make when I want to impress people without actually stressing myself out. Once you've made them once, they feel completely achievable, almost like a breakfast-time superpower you didn't know you had.
Your Questions Answered
- → How long should the dough rise overnight?
Cover the rolls tightly and refrigerate overnight for at least 8 hours to develop flavor and texture.
- → Can I substitute milk with orange juice?
Yes, replacing half the milk with fresh orange juice adds extra richness and a citrus flavor.
- → What is the best way to roll and cut the dough?
Roll the dough into a 10x16-inch rectangle, spread the filling evenly, roll tightly from the long edge, and cut into 12 equal pieces.
- → How long do the rolls bake?
Bake at 350°F (175°C) for 22–25 minutes until golden brown and cooked through.
- → Can I add spices to the filling?
Adding a pinch of cardamom to the filling offers a subtle, warm spice that complements the orange flavor.
- → What tools are recommended for preparation?
Use a large mixing bowl, stand mixer (optional), rolling pin, and a 9x13-inch baking dish for best results.