 Save
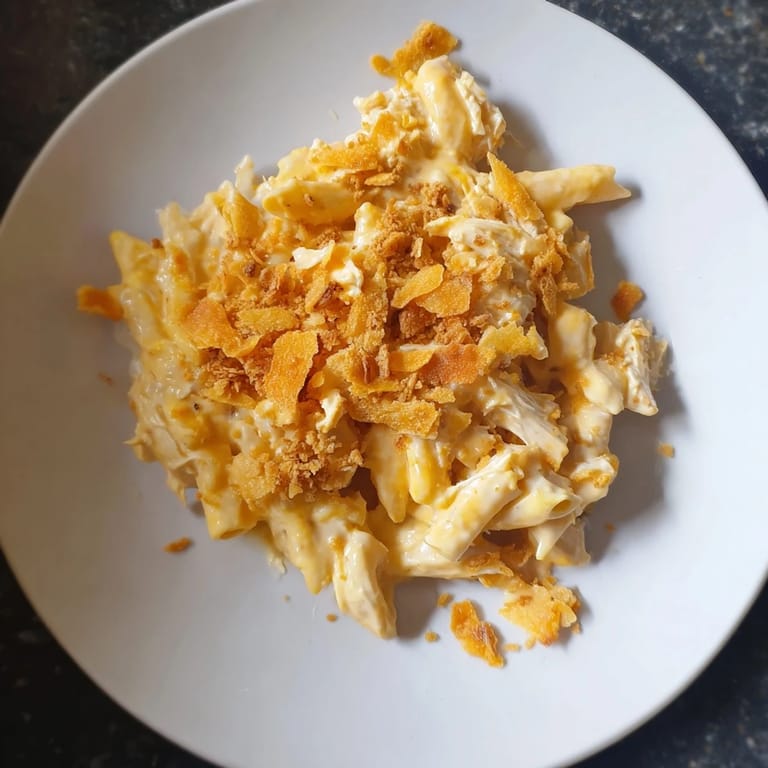
Save There's something about those nights when the fridge feels empty but you've got a can of chicken hiding in the back and a box of elbow macaroni that somehow saves dinner. I discovered this dish during a particularly tight month, standing in my kitchen wondering what I could pull together that wouldn't feel like I was settling. The answer was right there in the pantry, and what emerged was so genuinely comforting that it's become my go-to when I need something warm, creamy, and utterly unpretentious.
I made this for my friend Maya when she was helping me move into a new apartment, and we ate it straight from the baking dish while sitting on boxes, talking about terrible roommate stories from college. She asked for the recipe that night, and I realized then that it wasn't just budget food—it was the kind of food that brings people together when they need something real.
Ingredients
- Elbow macaroni (8 oz): The small, curved shape holds sauce in every crevice, which is why it works better here than long pasta would. Cook it just slightly under al dente since it'll soften a bit more when mixed with the hot sauce.
- Canned chicken breast (12.5 oz): Drain it well and flake it with a fork so you don't end up with big stringy pieces that feel weird in the bite. The fact that it comes pre-cooked is what makes this whole thing so fast.
- Unsalted butter (2 tbsp): Use real butter here, not a substitute, because you need that richness to build a proper roux that actually thickens the sauce.
- All-purpose flour (2 tbsp): This is your thickener, and whisking it into the hot butter for exactly one minute before adding milk creates the foundation for a smooth sauce that won't break.
- Whole milk (2 cups): Don't use skim unless you absolutely have to—the fat content is what makes the sauce taste creamy and luxurious instead of thin.
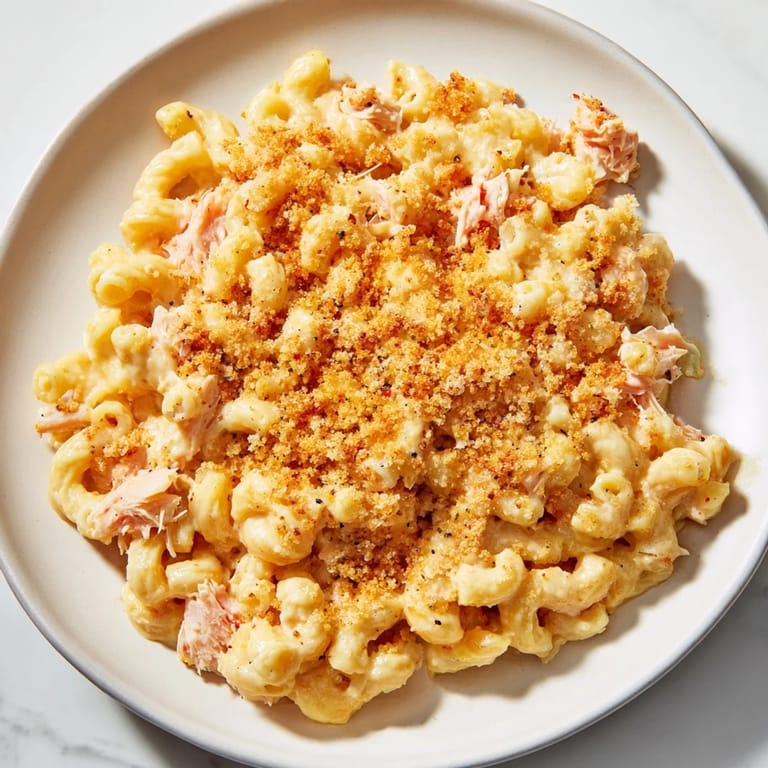
- Shredded cheddar cheese (1 cup): Sharp cheddar gives you more flavor with less cheese, which saves money and keeps the sauce from feeling heavy, though whatever melting cheese you have in the drawer will honestly work fine.
- Salt, black pepper, and garlic powder: These seasonings feel simple, but they wake up the entire dish and balance the richness without you needing to add anything fussy.
- Breadcrumbs and melted butter (for topping): This optional finishing touch adds texture and makes it feel like you put real effort in, even though it takes sixty seconds.
Tired of Takeout? 🥡
Get 10 meals you can make faster than delivery arrives. Seriously.
One email. No spam. Unsubscribe anytime.
Instructions
- Get the water going:
- Fill a large pot with salted water and bring it to a rolling boil. You'll know it's ready when it looks angry and vigorous, and the smell hits you—that's your signal that the pasta will cook properly.
- Cook the macaroni:
- Add the pasta and stir occasionally so nothing sticks to the bottom. Follow the package instructions but pull a piece out a minute early and taste it—you want it soft enough to eat but still with a tiny bit of resistance in the center.
- Start the roux:
- While the pasta is cooking, melt butter in a saucepan over medium heat and watch it foam slightly. Add the flour all at once and whisk constantly for about one minute, which browns it just enough to cook out the raw flour taste without turning it dark.
- Make the sauce:
- Slowly pour in the milk while whisking steadily to avoid lumps, then keep stirring over medium heat for 3-4 minutes until it thickens enough to coat the back of a spoon. It should look silky and smooth, and you'll feel it change consistency as you stir.
- Melt in the cheese:
- Turn the heat down to low, add the shredded cheddar along with salt, pepper, and garlic powder if you're using it. Stir until the cheese fully melts and disappears into the sauce, making everything golden and rich.
- Add the chicken:
- Pour in the drained canned chicken and gently fold it through the sauce with a spoon, breaking up any larger pieces as you go. Heat it for another minute just to warm it through since it's already cooked.
- Combine everything:
- Drain the cooked pasta and dump it into the pot with the chicken and cheese sauce, stirring until every piece of macaroni gets coated. Taste it and adjust seasoning if it needs more salt or pepper.
- Bake it (optional but recommended):
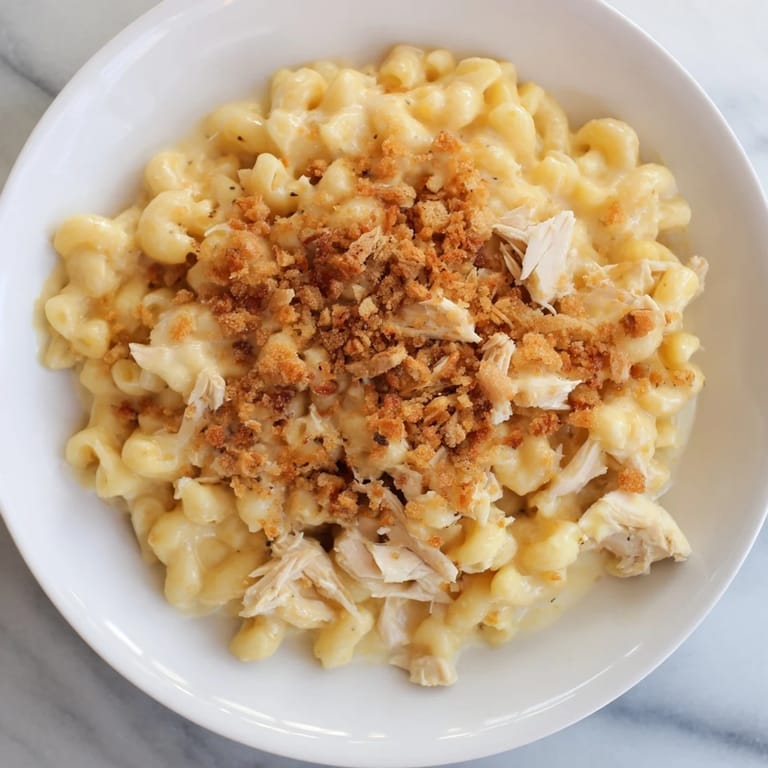
- Transfer the mixture to a greased 8x8-inch baking dish, toss breadcrumbs with melted butter, and scatter them over the top. Bake at 400°F for 10-12 minutes until the top turns golden and the edges start to bubble, which adds a slightly crispy texture that makes the whole thing feel more intentional.
- Serve:
- Let it cool for two minutes if you're impatient, or five if you have the discipline, then serve it hot in bowls and watch people genuinely enjoy something that cost almost nothing to make.
 Save
Save The first time someone I cooked for told me it tasted like something their grandmother made, I felt a pride that surprised me. There's something quietly powerful about creating comfort on a budget, about knowing that the fanciest restaurant meal can't beat the feeling of eating something warm and cheesy when you need it most.
Flavor Variations That Actually Work
Once you've made this a few times, you'll start noticing things you want to change. A pinch of smoked paprika adds a subtle warmth that feels almost smoky and sophisticated, while a tiny drizzle of hot sauce swirled in at the end gives you a little kick without drowning out the creaminess. I've also stirred in a handful of frozen peas or some chopped cooked broccoli right before serving, and the texture shift somehow makes the whole dish feel more intentional and less like bachelor food.
Leftovers and Storage
Leftovers live in the fridge for up to three days and stay genuinely creamy, which is rare for pasta dishes. You can reheat it gently on the stove with a splash of milk, or in the microwave if you're in a hurry—it won't taste quite as good as fresh, but it's still deeply satisfying. I've even eaten cold portions straight from the container at midnight, standing over the sink, which tells you something about how forgiving and delicious this dish is.
- Store it covered in an airtight container so it doesn't pick up weird fridge smells.
- Add a tablespoon of milk when reheating to loosen up any sauce that's tightened as it cooled.
- If you're meal prepping, split it into smaller containers so you can grab exactly what you need without thawing the whole batch.
 Save
Save There's dignity in cooking something simple well, and there's freedom in knowing that delicious food doesn't have to be expensive or complicated. This dish is both of those things.
Your Questions Answered
- → Can I use fresh chicken instead of canned?
Yes, fresh cooked chicken can replace canned chicken. Shred or dice it before combining with the cheese sauce.
- → What cheese works best for the sauce?
Cheddar cheese provides a rich flavor, but Monterey Jack, Colby, or mozzarella are good alternatives for a creamy texture.
- → How do I get a crispy topping?
Mix breadcrumbs with melted butter and sprinkle over the dish before baking at 400°F for 10–12 minutes until golden and bubbly.
- → Can I add vegetables to this dish?
Certainly! Frozen peas, chopped cooked vegetables, or your choice of greens add nutrition and flavor without altering the creamy sauce.
- → Is it possible to make this dish gluten-free?
Use gluten-free pasta and substitute all-purpose flour with a gluten-free thickener like cornstarch to keep the sauce smooth.