 Save
Save My neighbor knocked on my door three hours before her housewarming party in a minor panic—she'd planned a dessert spread but somehow ended up with no actual desserts. We stood in her newly painted kitchen laughing at the timing, and I offered to help her throw together a mini dessert bar using what she had on hand. That afternoon, we discovered that making bite-sized versions of classic treats wasn't just faster; it felt more celebratory, like edible confetti for her new home. Now whenever I need to bring something special to a gathering, I think of that kitchen and how small things, when arranged just right, can steal the show.
I made this dessert bar for my sister's book club, and watching twelve people approach that tiered stand with genuine excitement told me something—people don't just eat these treats, they experience them. Someone always goes back for another brownie, another person discovers they love lemon cheesecake more than they thought, and there's always that moment when someone says, "Did you make all of these?" The pride in saying yes, in your own kitchen, never gets old.
Ingredients
- Unsalted butter: Using unsalted lets you control the salt level across all three recipes, and it browns more evenly than salted butter in the chocolate.
- Dark chocolate, chopped: Chop it finely so it melts smoothly with the butter—big chunks tend to seize if they're not stirred constantly.
- Granulated sugar: This dissolves cleanly in both warm and cold fillings without any grittiness lingering on your tongue.
- Large eggs: Room temperature eggs incorporate more smoothly into batters and custards; take them out about 15 minutes before mixing.
- Vanilla extract: Real vanilla makes a surprising difference in these small bites where every flavor note matters.
- All-purpose flour: Measure by spooning into a cup and leveling off—scooping directly compacts it and throws your ratios off.
- Cream cheese: Softened cream cheese beats into a silky filling; cold cream cheese will stay lumpy no matter how long you mix.
- Lemon juice and zest: Fresh lemon is non-negotiable here—bottled juice tastes flat and one-dimensional compared to real fruit.
- Digestive biscuits or graham crackers: Crush them finely so the crust presses into a uniform base without any large crumb gaps.
- Shortcrust pastry: Ready-rolled saves time, but let it come to room temperature slightly so it cuts cleanly without cracking.
- Assorted fresh berries: Choose what's in season and looks bright; berries that are just past their prime can weep juice onto the custard.
- Cornstarch: This thickens the custard without making it gluey—always whisk it in with cold liquid first to prevent lumps.
Tired of Takeout? 🥡
Get 10 meals you can make faster than delivery arrives. Seriously.
One email. No spam. Unsubscribe anytime.
Instructions
- Set up your workspace:
- Preheat your oven to 180°C and grease or line your mini tins while it heats. This takes two minutes now and prevents scrambling later when you have three batters ready at once.
- Melt chocolate and butter for brownies:
- Use a double boiler or microwave in 20-second bursts, stirring between each one—chocolate burns faster than you'd think and tastes bitter if overheated. The moment it's glossy and smooth, you're done.
- Mix brownie batter gently:
- Whisk sugar and eggs until pale, then fold in the chocolate mixture and flour with a spatula, stopping as soon as you don't see dry flour. Overmixing develops gluten and makes brownies cake-like instead of fudgy.
- Bake brownie bites:
- Spoon batter evenly into 8 cups and bake 12–15 minutes until the tops look set but the center still jigles slightly when you tap the tin. They'll continue cooking as they cool and firm up beautifully.
- Press cheesecake crusts:
- Combine crushed biscuits and melted butter, then press into the bottoms of 8 cups using your thumb or the back of a small spoon. A tight, even crust prevents soggy bottoms.
- Prepare cheesecake filling:
- Beat softened cream cheese on medium speed until completely smooth before adding sugar, then add the egg last so you don't overbeat once it's incorporated. Overbeating whips in air and can cause the filling to crack.
- Bake cheesecake cups:
- Spoon filling over crusts and bake 12–15 minutes—the filling should jiggle just slightly in the center when you gently shake the tin. Overbaked cheesecake becomes dry and dense.
- Prepare tartlet shells:
- Cut pastry into circles using a cookie cutter or drinking glass, press into tins, prick the bases with a fork to prevent puffing, and bake until golden brown. The fork pricks let steam escape evenly.
- Make custard filling:
- Whisk cornstarch with a little cold milk first, then add remaining milk and other ingredients, then cook gently over medium heat while stirring constantly until it thickens. Once it coats the back of a spoon, remove from heat immediately.
- Assemble tartlets:
- Fill each cooled shell with custard, then top with fresh berries just before serving so they stay bright and don't weep.
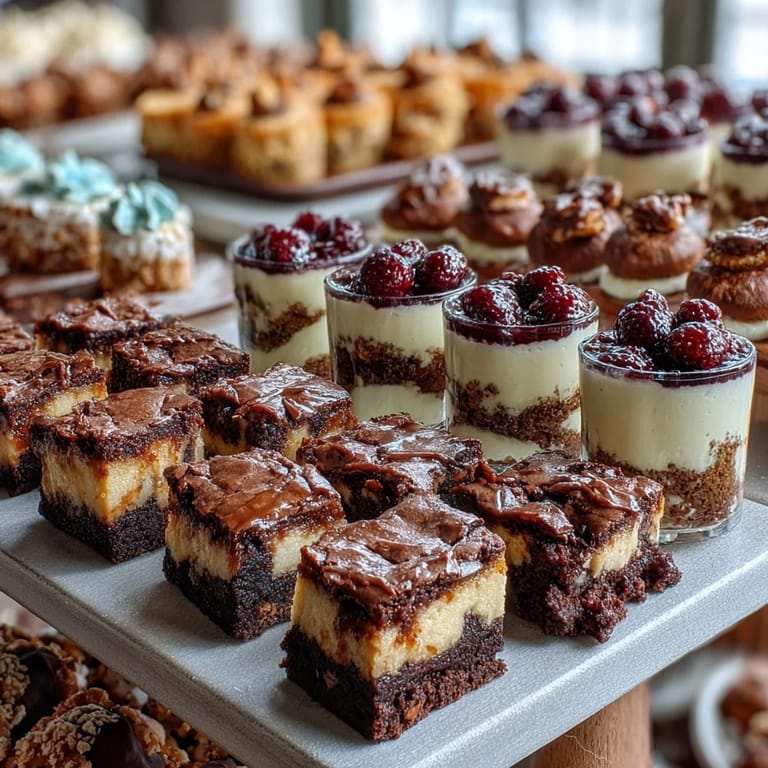
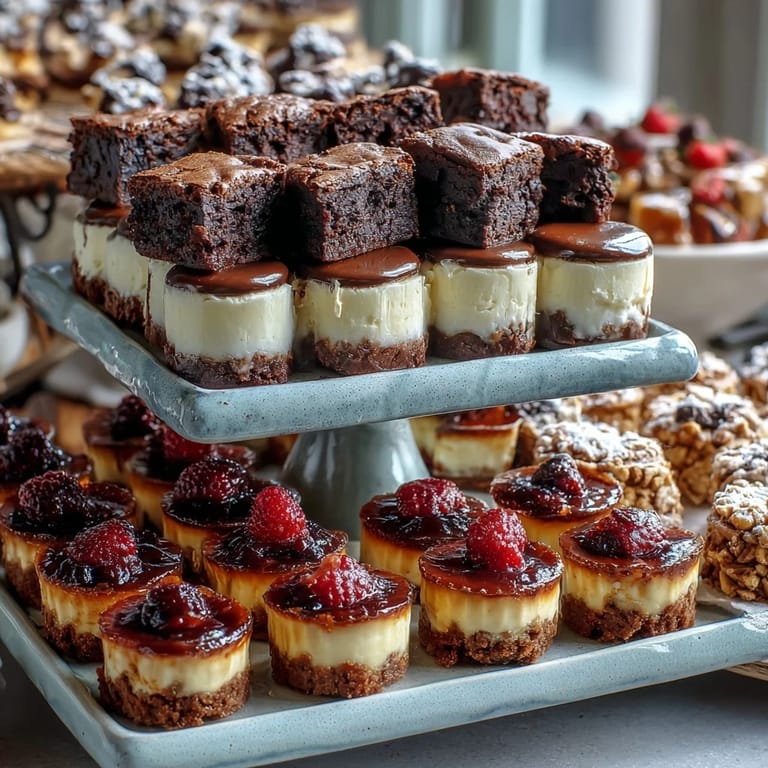
- Arrange your dessert bar:
- Arrange all treats on a tiered stand or platter so each type is visible—the visual variety is half the appeal.
 Save
Save I once brought this dessert bar to a potluck where someone was celebrating quitting their job, and watching that moment when she took a bite of brownie and just closed her eyes in relief—that's when I realized these small treats carry more weight than their size suggests. Food doesn't always need to be complicated to feel like a real moment.
Building Flavor Variety
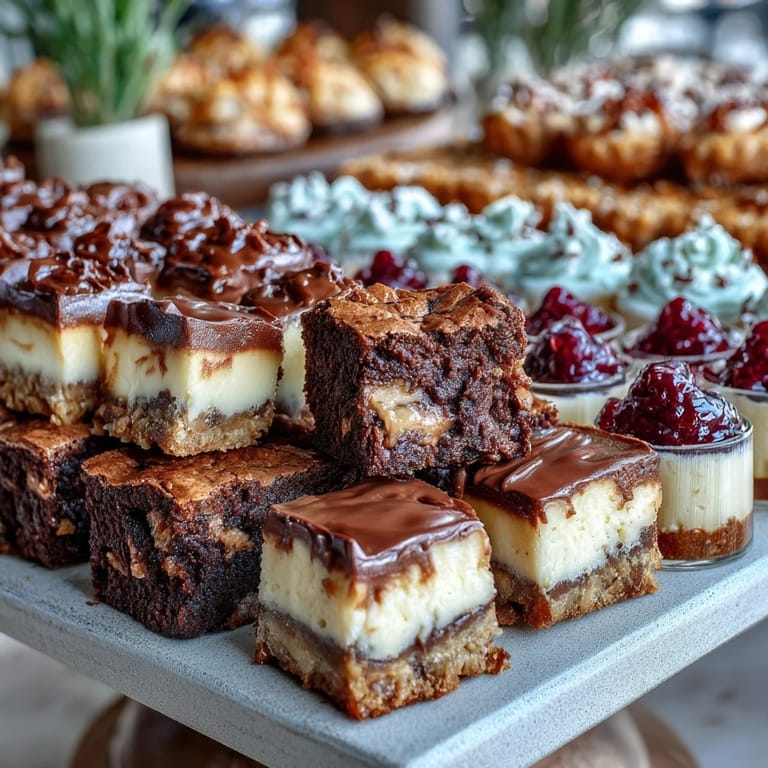
The beauty of this dessert bar is that three completely different flavor profiles sit side by side, so you're not betting everything on one cake or one flavor. The chocolate is rich and comforting, the lemon is bright and cuts through sweetness, and the fruit tartlet tastes almost light and summery by comparison. When you serve them together, guests aren't comparing them; they're experiencing them as part of a complete thought. It's intentional variety, not just quantity, and people notice the difference.
Make-Ahead Strategy
You can bake the brownie bites and tartlet shells up to two days ahead and store them in an airtight container—they actually taste better after a day because flavors deepen. The cheesecakes can be made a full day ahead and refrigerated, which is ideal since they need to chill anyway. The custard and berry topping should be added within a few hours of serving so the tartlets stay crisp, but everything else is incredibly forgiving and lets you spread the work across multiple days.
Scaling and Customization
These recipes are written for 8 of each treat, but you can easily make 12 or 16 by keeping the ratio the same and adjusting baking time by a minute or two. If you want to swap flavors—maybe pistachio brownies or raspberry cheesecake—follow the same ratios and flavor balance, adding extracts or zests carefully so one flavor doesn't overwhelm the base. Some of my favorite variations came from having too much of one ingredient on hand and improvising, so don't be afraid to experiment once you understand how these recipes work.
- Double the lemon zest if you love bright citrus, but add it to the filling, not the crust.
- Try different berries based on season—in winter, add a thin coat of chocolate ganache to the tartlets instead.
- Swirl a tiny bit of salted caramel into the brownie batter for extra depth.
 Save
Save This dessert bar feels fancier than the effort it takes, and there's something genuinely nice about giving people choices. Your guests will leave talking about the whole experience, not just one taste.
Your Questions Answered
- → How do I prevent mini brownies from drying out?
Bake them just until set and still fudgy inside, around 12-15 minutes, to maintain moistness.
- → Can I prepare the lemon cheesecake cups in advance?
Yes, refrigerate them after baking to let flavors meld and keep them fresh until serving.
- → What is the best way to bake the mini fruit tartlets?
Blind bake the pastry shells first, then fill with chilled custard before topping with fresh berries.
- → Are substitutions possible for the biscuit base in cheesecake cups?
Digestive biscuits or graham crackers work well, but you can use gluten-free options if needed.
- → How can I enhance the presentation of the dessert bar?
Arrange treats on tiered stands and add fresh mint sprigs or a light drizzle of melted chocolate for flair.